![]()
Building VPX (A123 APR18650M1) Rx Packs - 8/20/2009
|
|
Building VPX (A123 APR18650M1) Rx Packs - 8/20/2009 |
|
DISCLAIMER: These articles are the findings and opinions of one person. Any cell technology that we use is potentially dangerous. Do not work with these cells if you do not have a healthy respect for them, or if you lack the requisite skills. |
|
This article describes how to build a VPX receiver pack that is a superior substitute for a 5-cell AA NiCad or NiMH pack.
This is discussed elsewhere on this site.
These cells also make good flight packs for small electric planes.
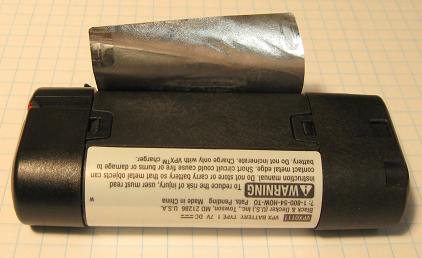
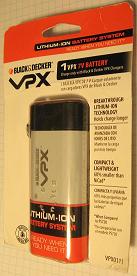
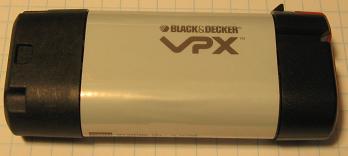
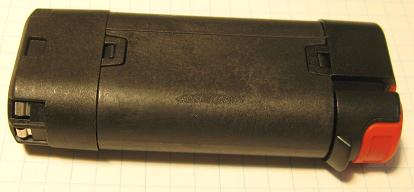
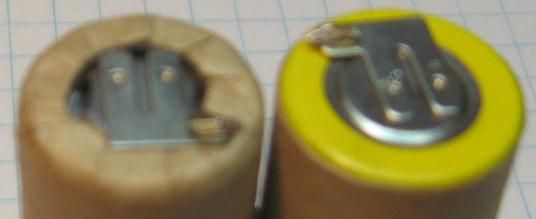
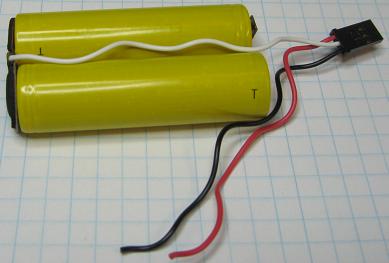
The pictures below show the VPX pack as supplied by Black & Decker.
It is relatively easy to disassemble. |
|
|
Here's how it's done:
First, peel off the foil label. Use a #11 blade to get started.
|
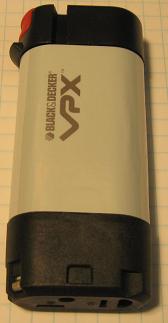
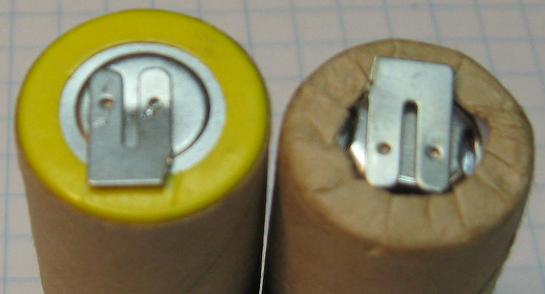
 We're going to remove the end cap on the left. |
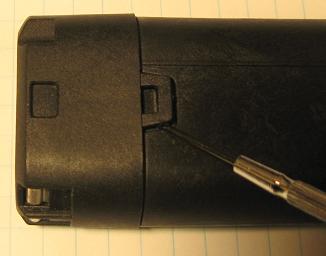
Lift up the tab with a small screwdriver or knife blade. |
 Slide the end cap with cells from the case. |
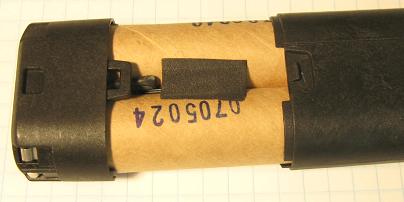
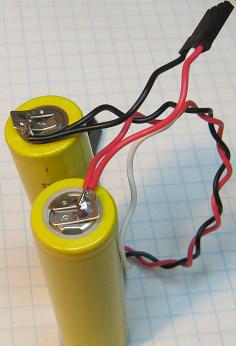
 The cells! |
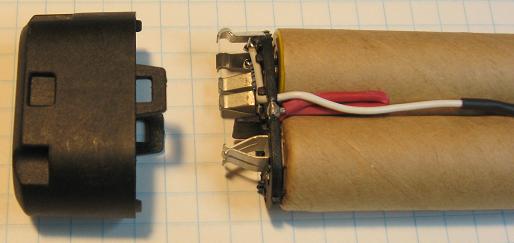 Separate the cap. |
Carefully unsolder the center tap wire, pulling gently on the [white] wire. |
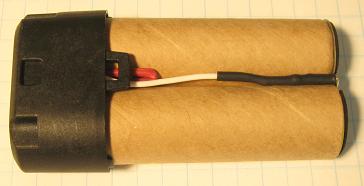
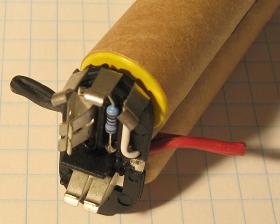 Pull out the folded red and black wires. |
 Pull the terminal thingy away from the cells. |
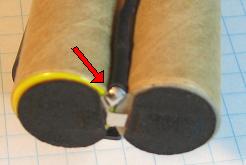
 Clip the red and black wires at the terminals (sorry about the fuzzy pic). |
Don't try to unsolder the remains of the wires. |
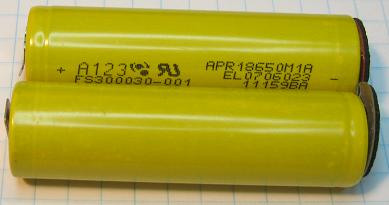
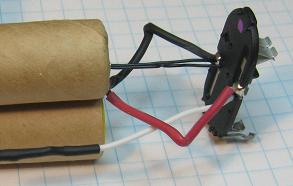
I like to peel off the cardboard but it's not necessary. |
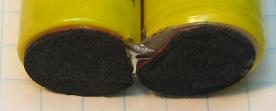 You can leave the insulator on, or remove it and use your favorite tape. |
Use a heavy-duty servo cable for the balance/charge connector. |
Cut the two remaining leads one inch past the start of the pack.
Strip 1/2" from each lead.
Use a standard pack cable or a servo cable with the third wire removed.
Cut this cable to your preferred length. Six inches is common.
Strip 1/2" from each lead and wrap black wires together and red wires together.
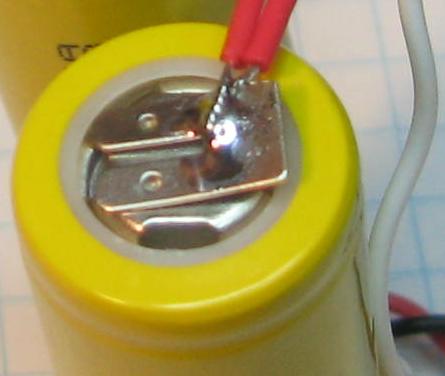
Tin these wires, trim exposed wire to 5/16" and bend each wire into a hook.
Insert "black" hook into negative tab with wires toward center, and squeeze hook with pliers.
Solder the wires. Repeat for "red" hook.
|
It would be good to verify polarity with a voltmeter. |
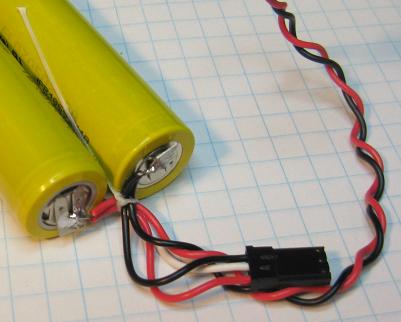
I use string to provide strain relief. Secure knot with a drop of CA. |

I use electrical tape to protect the terminals. |

Finally, the finished pack!.
Believe it or not, the pack is shrink-wrapped. |